|
Electronic Components Datasheet Search |
|
|
Electronic Components Datasheet Search |
|
R276-R277-R278-R279-0360 Datasheet(PDF) 4 Page - GIACOMINI WATER E-MOTION |
|
|
|||||||||||||||||||||||||||||
R276-R277-R278-R279-0360 Datasheet(HTML) 4 Page - GIACOMINI WATER E-MOTION |
|
|
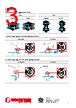
4 / 7 page 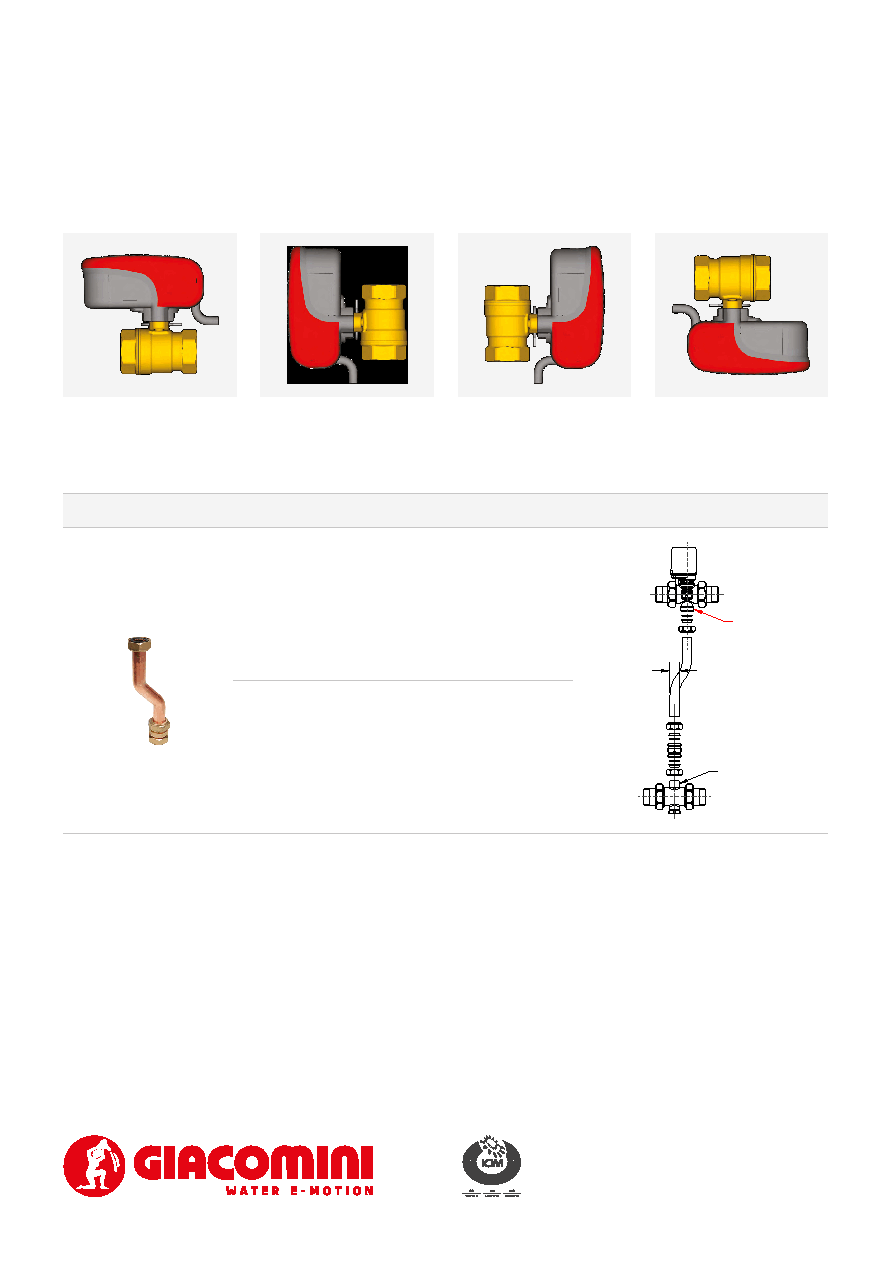 4 Giacomini S.p.A. Via per Alzo 39, 28017 San Maurizio d’Opaglio (NO) Italia consulenza.prodotti@giacomini.com +39 0322 923372 - giacomini.com Installation WARNING. The connection to the system must be carried out by qualified personnel, respecting the flow direction indicated by the arrows imprinted on the valve bodies. Installation of R193K connection kit with R278 3-way zone valve In the R278 three-way valves, the delivery and return bodies can be assembled directly (if mounted on coplanar manifold), or through a by-pass conduit, using the Base 18 and the Ø 18 copper pipe connections. SERIES PRODUCT CODE USE INSTALLATION R193K R193Y011 Use in combination with: R278 zone valve + R553D/R553F manifold + R588 metal brackets + R500 cabinet Ø 18 Base 18 Ø 18 R193Y021 Use in combination with: R278 zone valve + R553D/R553F manifold + R588Z metal brackets + R500-2 cabinet WARNING. The valve may be installed in any position but the actuator should not be positioned upside down or with the power cable entering from the top (to prevent problems deriving from condensation). The valve must be installed in dry, protected and easily accessible places for any subsequent maintenance interventions. Do not cover with insulating materials. |
|
|
Link URL |
| Does ALLDATASHEET help your business so far? [ DONATE ] |
About Alldatasheet | Advertisement | Contact us | Privacy Policy | Link to Datasheet | Link Exchange | Manufacturer List All Rights Reserved©Alldatasheet.com |
| Russian : Alldatasheetru.com | Korean : Alldatasheet.co.kr | Spanish : Alldatasheet.es | French : Alldatasheet.fr | Italian : Alldatasheetit.com Portuguese : Alldatasheetpt.com | Polish : Alldatasheet.pl | Vietnamese : Alldatasheet.vn Indian : Alldatasheet.in | Mexican : Alldatasheet.com.mx | British : Alldatasheet.co.uk | New Zealand : Alldatasheet.co.nz |
|
Family Site : ic2ic.com |
icmetro.com |
 New Zealand ▼
 English
 Chinese
 German
 Japanese
 Russian
 Korean
 Spanish
 French
 Italian
 Portuguese
 Polish
 Vietnamese
 Indian
 Mexican
 British
 New Zealand